
 |
| From IKEA shopping bag to designer boot bag |


In the early
days of this '52 bags in a year' project, someone left a comment suggesting
upcycling and that’s what this week’s bag is all about. It is made from 2 large IKEA bags which I
dismantled and then made into a completely different bag. It cost me 80p (40
pence for each bag) plus the cost of the trimmings (Velcro, piping cord,
handle, fabric for the piping). It would have been even cheaper if I had re-used the IKEA handles. I looked
into buying a boot bag but they cost about £20, so I feel I’ve got a bargain
here with my budget bag.
I wanted a
bag to put my Wellington boots in that would keep my car clean. This bag isn’t waterproof (although it could
be if it were made from a different fabric), but it will prevent muddy boots
from making a mess as long as they aren’t too wet.
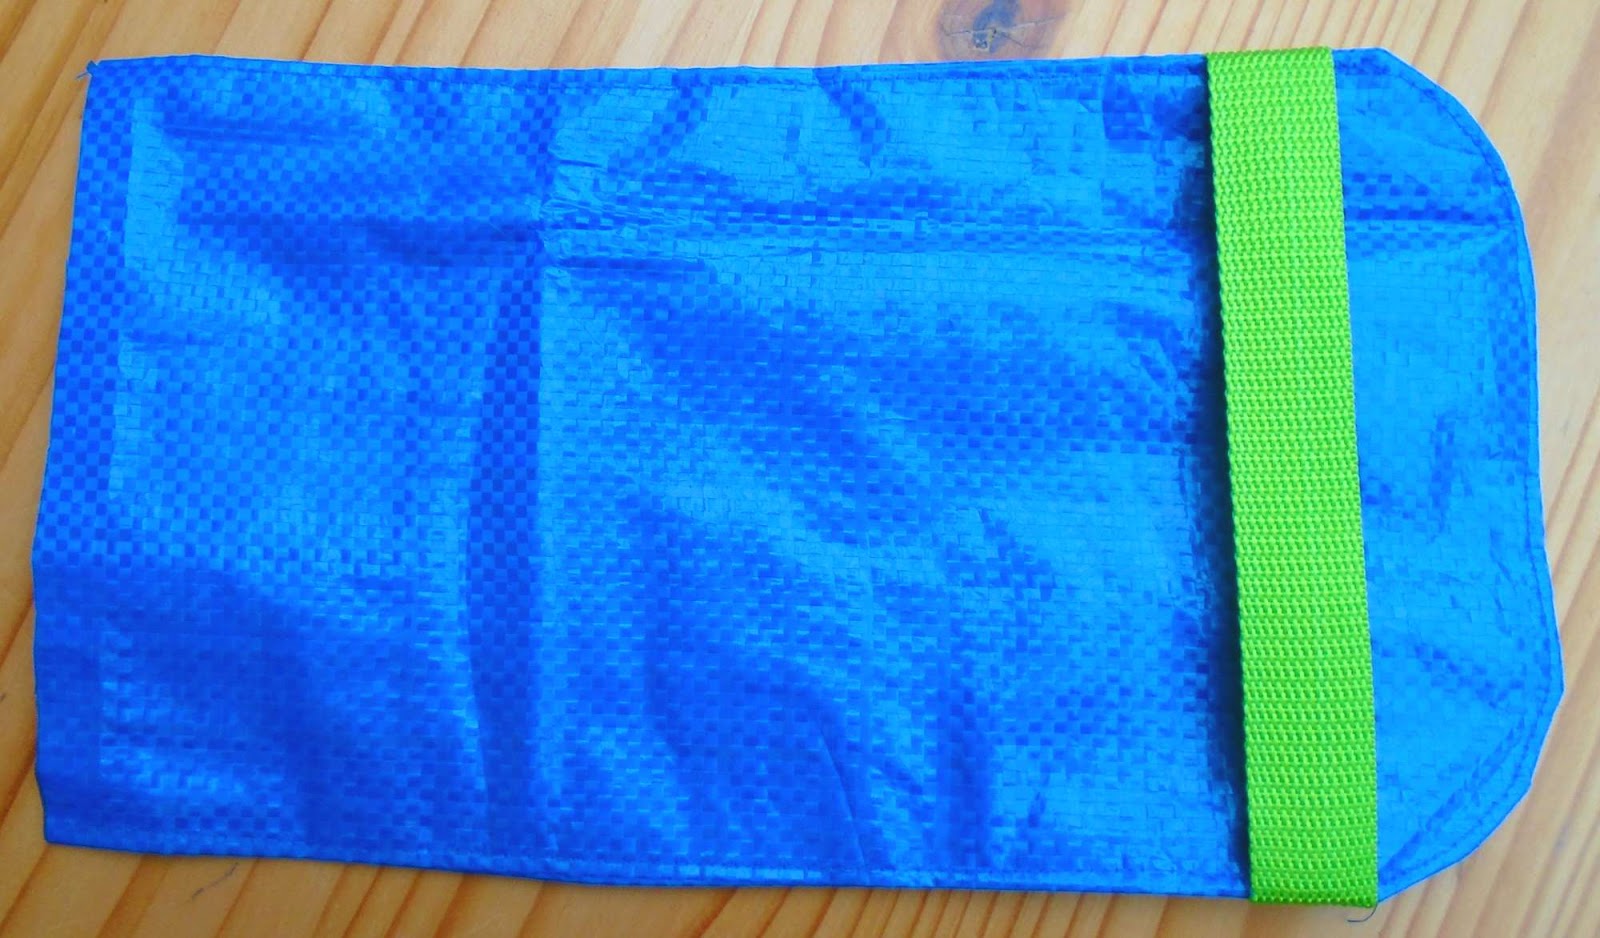
This bag should
fit most boots regardless of shoe size, but it would be a good idea to check by
measuring them. The pictures show the bag with my
boots in it which are UK size 6/continental 39 and are 16” (40.5 cm) high, but there is lots of spare room. The final size of the bag is 18” (45.5cm)
high, 10” (20 cm) wide,12” (30cm) deep.
I made this
bag in an afternoon. The bag itself was
quite straight forward but the fabric was hard to manipulate because it was so
stiff.
I used my
normal stitch length of 2.5 and a leather needle for sewing the blue bag fabric
(after breaking an ordinary needle). I used ¼” or 6 mm seam allowances
throughout.
I have
included metric and imperial measurements but they are not exactly
interchangeable, so you should stick to either one or the other.
Skills used in this project:
- Upcycling
- Using a very stiff fabric
Step 1: Cutting out
Cut out the
following pieces:
 18 ½” x 12 ½” (46 x 31 cm) boot shaped pieces for the sides – cut 2 (they need to be
reverse images of each other)
18 ½” x 12 ½” (46 x 31 cm) boot shaped pieces for the sides – cut 2 (they need to be
reverse images of each other)
48” x 10½”
(122 x 27 cm) all in one top, back and bottom piece (cut 1)
14” x 5”
(35.5 x 12.5 cm) front side strips (cut 2 bag fabric and 2 medium sew-in
interfacing)
14” x 8½”
(35.5 x 21.5cm) front flap (2 bag fabric, 1 medium sew-in interfacing)
20”/50 cm
webbing for handle and front flap (you could use the IKEA bag handles for this)
20”/50 cm
strip of Velcro
120”/3 m piping
cord
60”x 1” (150 cm x 25 mm) strips of contrasting bias cut fabric (cut 2) or join several smaller
strips

Step 2: Making the side pattern
Create the
boot shape for the side panels by trimming the top (one of the short edges) so
that it only measures 8 ½” or 21mm across and then draw a line
linking it to the bottom edge. Cut to
size and create curves at all the corners. I found it easier to make a pattern first and then just cut around it. The side piece fits the fabric from the bottom of the IKEA bag perfectly.
Step 3: Making the piping

Using the bias cut strips, join any
smaller strips of fabric by placing them at right angles, right sides together,
and sewing diagonally across as shown in the photo. Trim the seam and press
open.
Fold one end
of the binding under so that the raw edge will not be visible. Start the piping
about ½” or 1 cm in and fold the fabric strip over the piping, right sides
out, so that the piping is completely encased and the raw edges of the fabric
strip meet.


Using a zip
foot and a longer stitch e.g. 3, sew close to the piping all the way along the
strip, starting about ½” or 1.2 cm from the end you folded under.
Do this for
both lengths of piping.
Step 4: Attaching the piping

Pin the
encased piping to the right side of one of the boot shaped sides starting at
the bottom of the boot. Match the raw
edges of the piping with the raw edges of the bag fabric. Leave the first
1”/2.5 cm unsewn. Sew nearly all the way round.
When you get back to where you started, trim the end piping so that the
piping meets but the start fabric should overlap the end fabric to create a
neat overlap. Once you are happy with
the join, finish sewing the piping to the bottom of the bag.
Do the same
for the other boot shaped side.
Step 5: Assembling the bag
Cut a piece of webbing 11”/28cm long.
Sew a hem at
each end of the all in one top/back/bottom piece by folding the end under by about
½”/1.2 cm and then again by 1”/2.5 cm to create a neat, strong edge.

Sew the
top/back/bottom piece to the boot shaped piece starting about 4”/10cm from the
top, right sides together, all the way round.
When you get to the top sew one raw end of the handle webbing between
the fabrics so that the raw edges meet. This should be positioned in the centre
of the top.
Do the same
for the other boot shaped side.
Step 6: Making and adding the front
sides
Pin the
interfacing to the wrong side of the side panels and fold them in half
lengthways, wrong sides together. Sew
all round. Do the same for the other side panel. I hemmed the ends but I realised afterwards that it really wasn't necessary as only the edge at the opening will be visible.


Position the
side panels in place so that they overlap both ends on the wrong side of the top/back/bottom
piece.
The boot bag
should still be wrong side out. Sew the
side panels along the side edge to the boot shape piece with the piping between
them.
Turn the bag right side out and sew along the
top and bottom edges to attach each side panel to the top/back/bottom piece.
Step 7: Making and adding the front
flap


Pin the interfacing
to the wrong side of one of the front flap pieces. Pin the front flap pieces together, right
sides together. Trim to create a gentle
curve on the bottom corners (the bottom will be one of the short sides). I drew round a saucer to create the shape.
Pin the remaining webbing between the right sides of the fabric just after the curve.
Sew the
bottom curve, ensuring that you sew the webbing into the side seams, keeping it flat. As the material is
fairly stiff, turn right sides out and finger press the curve you have just
sewn, but it is easier to sew the side seams from the right side by folding the fabrics in and
then sewing along the seam.

Cut the Velcro into 2 equal length strips. Sew the velcro to the wrong side of the flap close to the edge starting just above the webbing (which will be on the right side).

Attach the
front flap to the top by positioning it centrally so that it covers the
flap. The raw edge of the flap will be
just above the top of the opening with the flap facing upwards. Sew. The raw edge at the top of the flap will not be visible when the bag is in use.
Step 8: Attaching the velcro
Now we need to attach the other part of each Velcro strip to the side panels. Fold the flap down to check the best position for the Velcro so that it matches the Velcro on the flap. Pin and sew.

Finished! Put your boots in your bag and off you go for
a muddy walk in the countryside, safe in the knowledge that your car and home will
have some protection from all the mucky stuff out there.
In this project I learnt:
- I certainly had a good feeling from getting something for almost nothing. The bag looks great and serves a useful purpose. I shall certainly look at what else I could re-use to make into a cheap bag.
- This was a difficult fabric to manipulate because it was so stiff, although that was only a problem in the final stages when the bag was almost complete because other bits of the bag wouldn’t flatten and enable me to get to the final seams. It was good experience to work with a completely different fabric, which is what this year’s project is all about.
- I am getting much more organised. I thought about the trimmings I would want in advance – webbing, piping, etc, but I hadn’t planned to use interfacing. It was only when I started to cut out the pieces that I realised the need for a stabiliser to give the fabric strength around the Velcro i.e. in the front flap and front side panels. When I burrowed through my stash, I didn’t have enough suitable interfacing and had to use different types on the panels and flap. It doesn’t really matter because they feel and look the same, but I was annoyed with myself for not thinking it through. I like the fact that I've become very adaptable and can usually find some means of achieving the result I want. Well, at least it gives me an excuse for another outing to my wonderful local haberdashery store. If they had beds and a cafe there, I’d never leave!
No comments:
Post a Comment