

With
Christmas fast approaching, I wanted to make a pretty bag to fill and give as a
gift. I found this polyester satin in
the remnant bin at my local haberdashery store and thought it would be
ideal. Sadly, the fabric was totally
unsuitable. Although the bag shape worked
well, when top stitching, the feed dogs ripped the satin and completely ruined
it. However the bag would be great in a
less delicate fabric e.g. cotton.
You could
make a smaller version of this bag for wedding favours or a larger one for a
cosmetics bag, but stick to lightweight fabrics such as cotton as thicker ones
don’t gather nicely. It would make a
great evening bag made of velvet.
I used lace
for the drawstring channel, but you could use ribbon, tape or fabric cut to
size. Just make sure that the
drawstrings (I used ribbon) are narrower so that they can be threaded through.
This bag is
really quick to make – you only need about half an hour, so in an afternoon,
you could run up several. At this time
of year we’re all so busy that something quick and easy is a godsend.
You need 2
fat quarters – 1 for the outer and 1 for the lining.
The finished
size is 6”/15 cm tall and 4”/10 cm wide
Skill level:
Suitable for a confident beginner.
I used my
normal stitch length (2.5) throughout but increased it to 3 for top stitching. I used ¼”/6 mm seams for the outer bag and
slighter wider seams for the lining.
I have
included metric and imperial measurements but they are not exactly
interchangeable, so you should stick to either one or the other.
Skills used in this project:
- Working with a delicate fabric
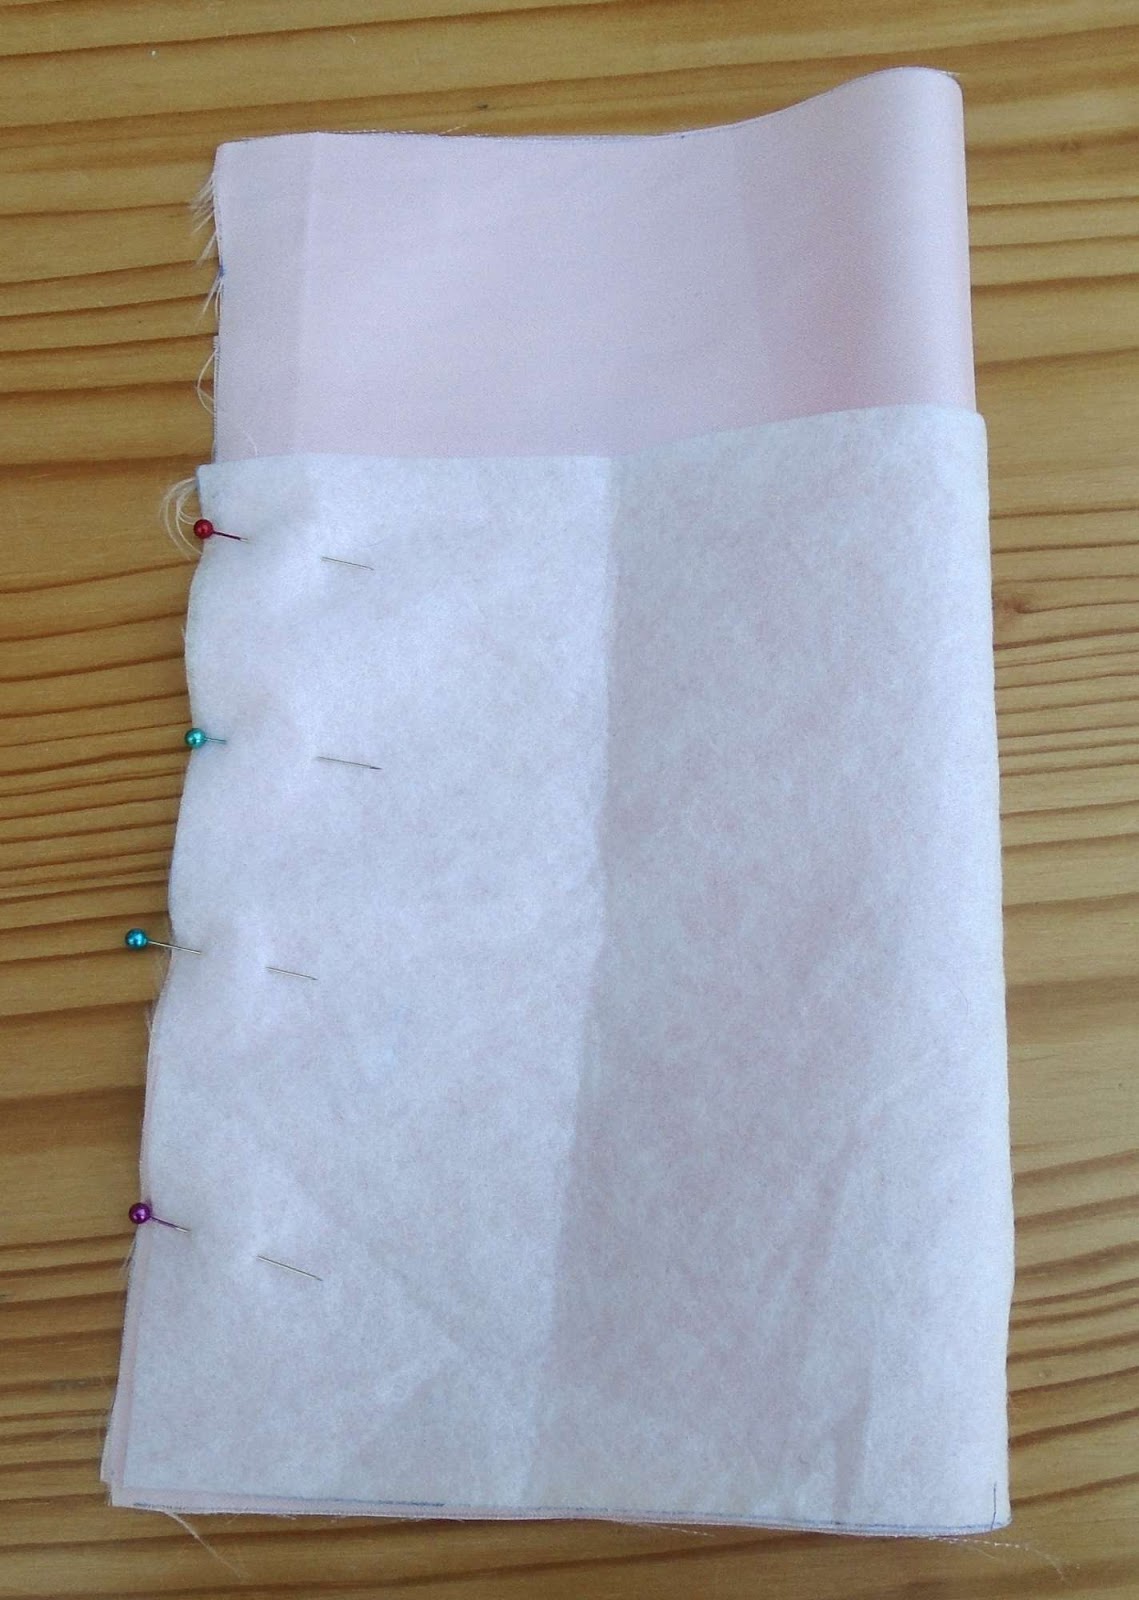
Step 1: Cutting out#
Cut out the
following:
4”/10 cm diameter
circle Bag base (cut 1 lining, 1 outer, 1 medium weight interfacing)
 13” x 11”/33
cm x 28 cm Bag body (cut 1 outer )
13” x 11”/33
cm x 28 cm Bag body (cut 1 outer )
13” x 5”/33
cm x 12.5 cm Bag body lining (cut 1)
13” x 8”/33
cm x 20 cm Bag body interfacing (cut 1)
2 x 6”/15 cm
strips of lace (I used ½”/12 mm lace)
2 x 28”/71 cm
ribbon which needs to be narrower than the lace (I used ¼”/6 mm ribbon)
Step 2: Making the lining

Fold the bag
body lining, right sides together so that the narrowest edges meet. Sew along this edge to create the side seam,
leaving a 3” gap for turning.
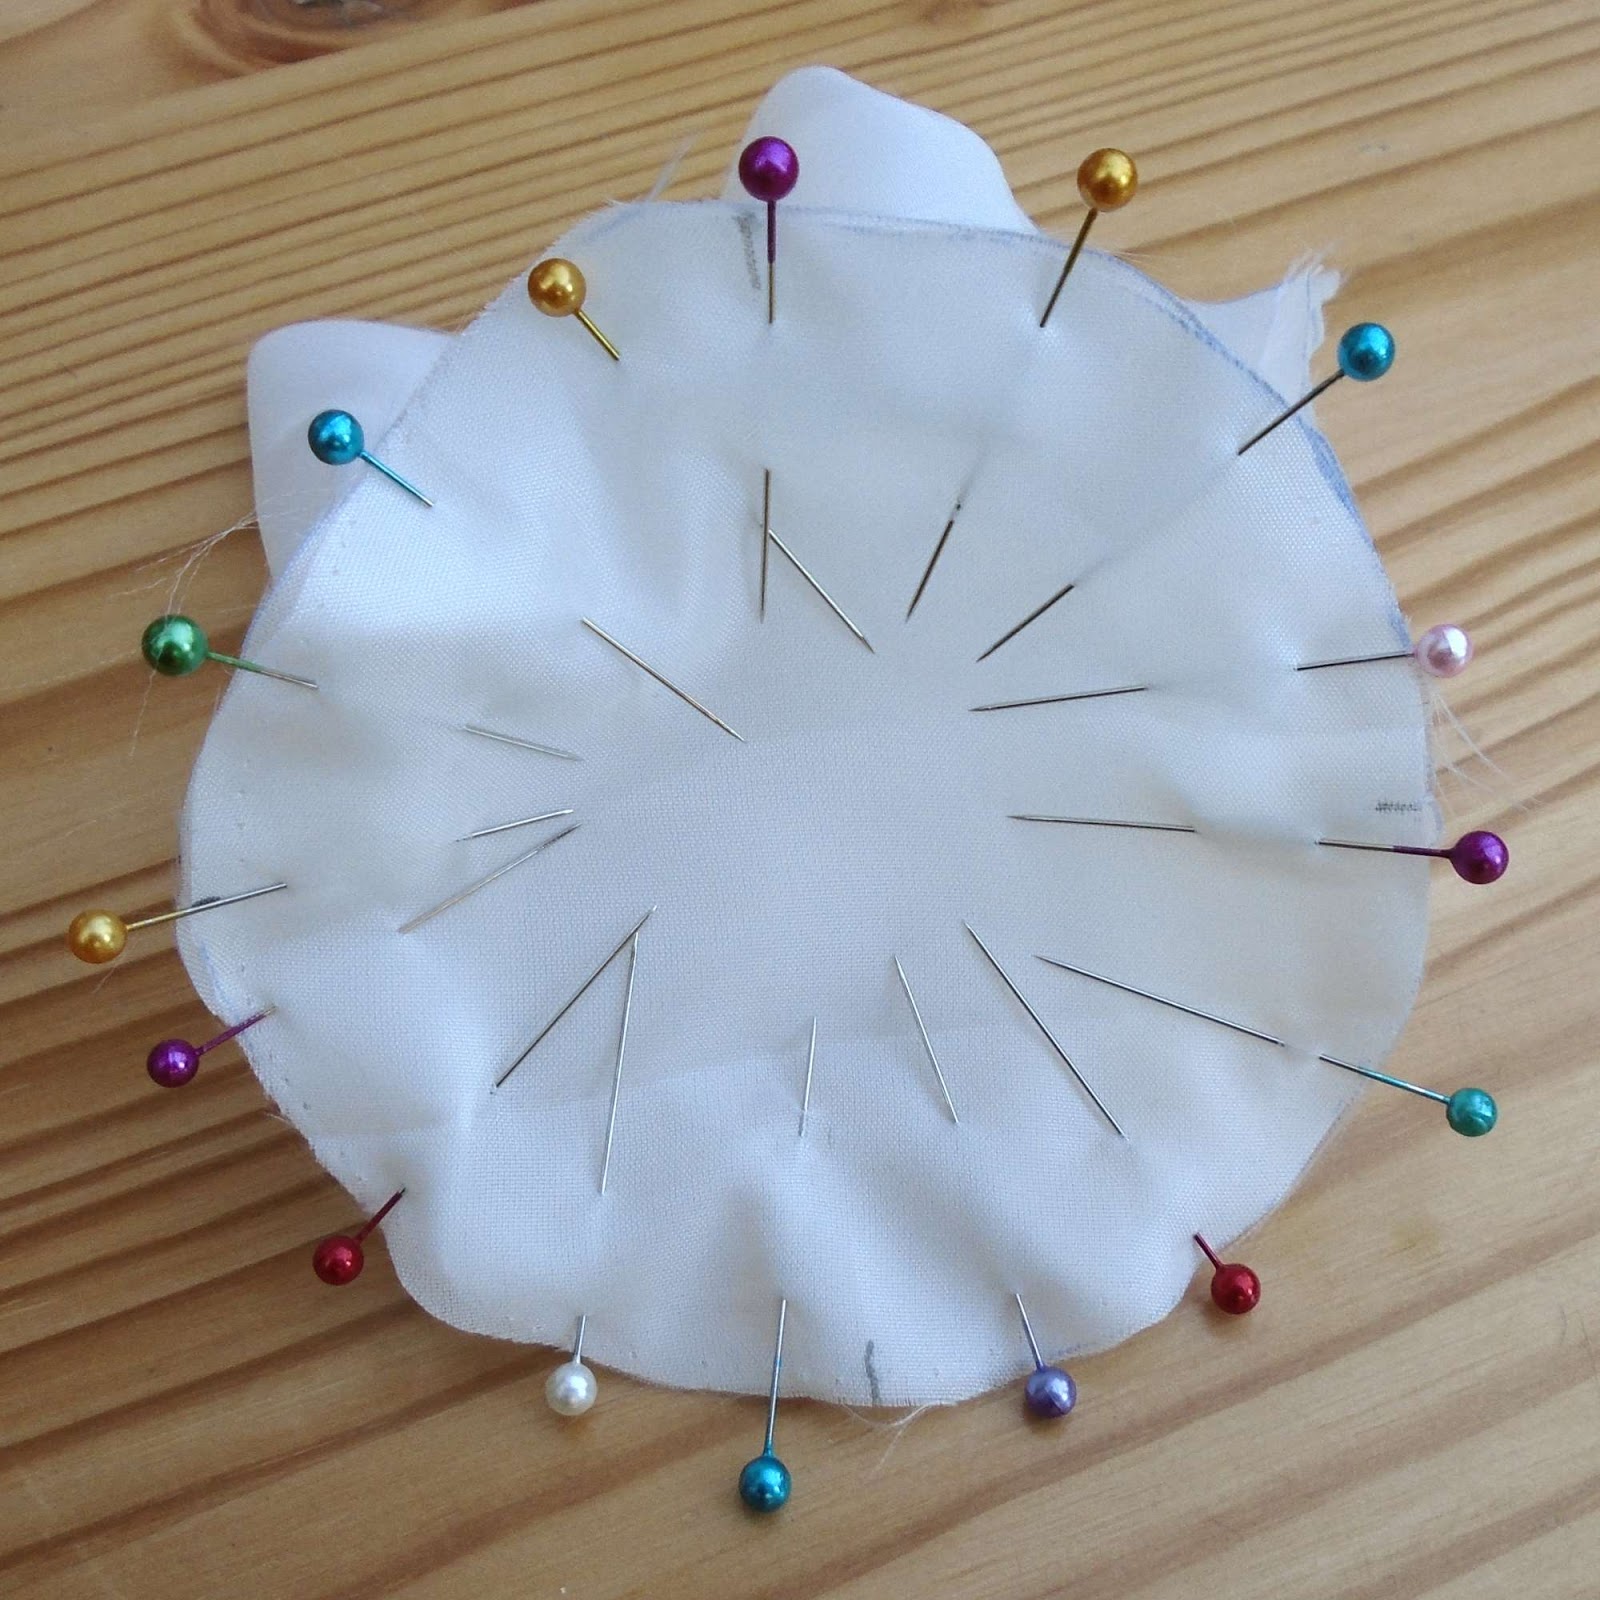
With right
sides together, pin one end of the lining around the edges of the circular bag
base lining. Imagine the circle is a
clock. Start by pining at 3, 6, 9 and 12
and ease the rest of the fabric into place and pin. Sew all round.
Step 3: Making the outer bag
Attach the
interfacing to the wrong side of the outer fabric bag base and bag side (by
pinning or ironing, as appropriate).

As with the
lining above, sew the side seam of the bag body and then sew it to the bag
base.
Step 4: Assembling the bag

With right
sides together, put the outer bag inside the lining so that the top edges meet
– the outer bag will be right side out and the lining will be right side in. Sew around the top edge to join them
together. Turn right sides out through
the gap in the side seam and sew the gap closed.

Push the
lining inside the bag until you can feel the top of the interfacing at the top
of the bag. Pin in place and top stitch
around the top edge to hold it in place.
Step 5: Creating the drawstring
channel

Turn the raw
ends of the lace under and sew to hold them in place.
The two
pieces of lace will go on opposite sides of the bag.

Position the
lace where you want the drawstring channel to be. It should be above the join
with the lining so that the lining is not visible. My lace was ½”/12 mm wide and I place the
bottom 2”/5 cm from the line of top stitching.
Sew in place through all layers of the bag.
Step 6: Making the drawstring

Treat the
ribbon to prevent fraying. You could use
glue, a special anti-fraying product such as Fray-Stop or you could heat seal
the ribbon (which is my preferred method, but only works for synthetics). To
heat seal the ribbon, carefully melt the tip of the raw edges at each end by
placing them near a flame. It melts really quickly and only takes seconds. Make
sure you don’t get too close to the flame or the ribbon will catch fire. As a safety precaution, I always do this next
to a bowl of water just to be on the safe side.

Thread one piece
of ribbon through both channels and tie the ends with a knot. Do the same with the other piece but start at
the opposite side.

You now have
a useful little bag for your knickknacks or why not fill it with goodies and
give it to someone who would appreciate it.
In this project I learnt:
- I really didn’t enjoy working with satin. It was so slippery that it kept sliding away from me and I had to be very careful not to snag it. As I mentioned at the beginning, this pattern didn’t work with the satin because, when topstitching, I had satin on both sides. The satin on the underside was badly damaged by the feed dogs. As I don’t normally use satin, I had no idea this would happen. It’s a shame because the bag is so pretty. You live and learn!

- The pattern worked well, so I’ll make another one out of cotton and use that instead. I’ll try to post a picture of it on the blog when I get round to it.
No comments:
Post a Comment