

I was
shopping at a local garden centre with a friend when she spotted a small PVC tote bag which was a handy size for a sandwich, a drink and a book. Of course, my response was to offer to make
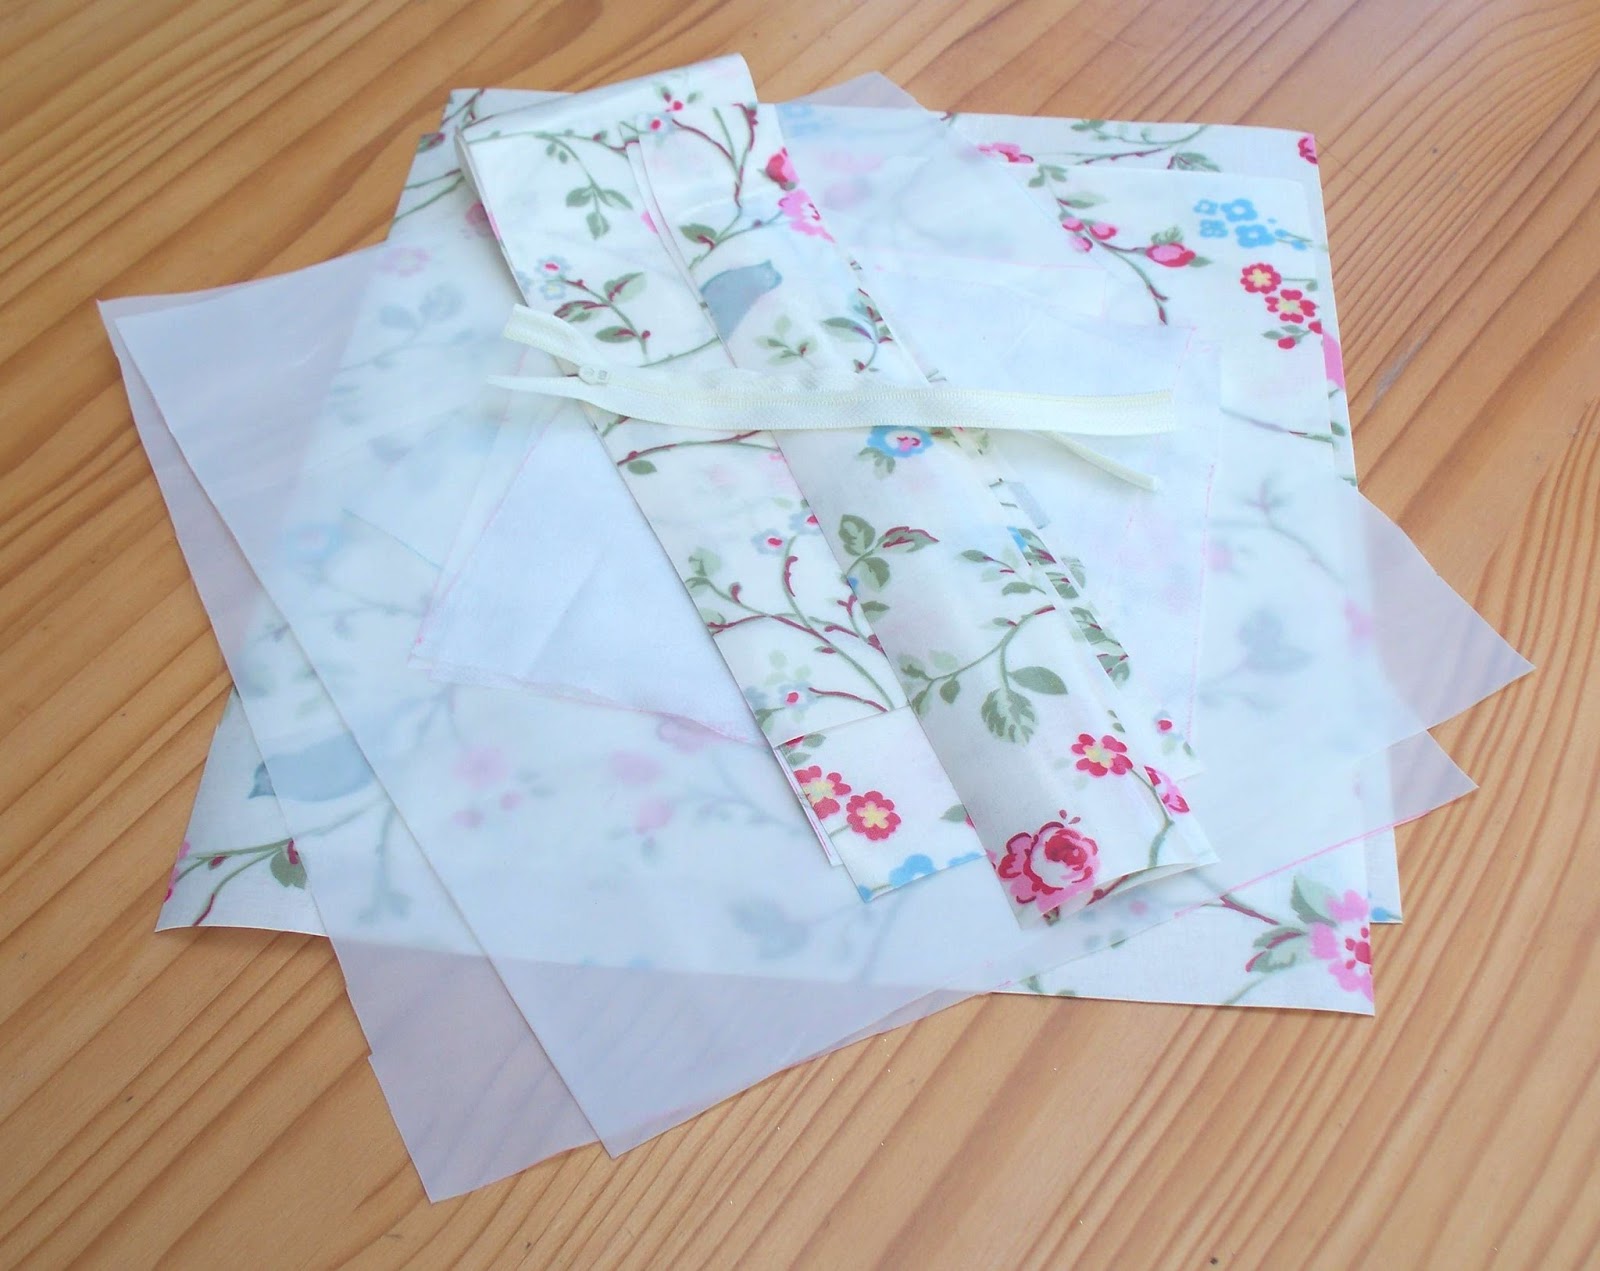
one. The fabric I used was a remnant
from my stash, so it cost very little and I had so much fun making this
bag.
I love
working with PVC. I think it is my
favourite fabric but it can be tricky. I
think that’s what I like about it – the fact that it will be a challenge but
will look good even if it goes wrong.
My lining was the same on both sides which always makes life easier.
My lining was the same on both sides which always makes life easier.
I used
¼" seams throughout and my usual stitch length (2.5) for seams but 3.5 for
top stitching. I didn’t use a special
foot but I did use a leather needle. I
couldn’t use pins because they would leave permanent marks, but my Clover
wonder clips held everything in place.
Skills used in this project:
- Creating structure using stitches
- Working with PVC
Step 1: Cutting out
Cut out the
following pieces
13 ½” x 12 ¼” PVC bag body (cut 2)
13 ½” x 2” PVC for inside bag (cut 2)
4” x 15” PVC handles (cut 2)
13” x 11 ¼”
bag lining (cut 2)
7” x 8”
lining for pocket (cut 2)
7” x 8”
iron-on light interfacing for pocket (cut 2)
3” x 8”
iron-on light interfacing for lining around zip (cut 1)
7” zip (I
used an N3 zip cut from a continuous roll)
Step 2: Making the PVC bag body


Cut a 1 ¼” square out of the 2 bottom corners for
both pieces of the PVC bag body (the bottom will be one of the longer sides). If using a directional fabric, make sure the
fabric will be the right way up before cutting these out.
Right sides
together, sew both side seams.

Wrong sides
together, Measure 1 ½” from the side seam and fold as shown in the photo. Top stitch close to the edge down this
fold. This will create the bag’s shape.
Do this at each side for both the front and back of the bag to create 4 of
these ‘fake seams’.
Right sides
together, sew the bottom seam.


Right sides
still together, flatten the corner squares cut outs and sew along the straight
line this creates just inside the fake seams.
Turn right
side out.
Step 3: Making the pocket
Iron the interfacing to the wrong side of both pocket linings. Attach the 3” strip of interfacing to the wrong side of one of the bag lining pieces. This should be centred with one long side of the interfacing against the edge of one long side of the bag lining.
Iron the interfacing to the wrong side of both pocket linings. Attach the 3” strip of interfacing to the wrong side of one of the bag lining pieces. This should be centred with one long side of the interfacing against the edge of one long side of the bag lining.
Pin one pocket piece and the lining to which you have just added the interfacing, right sides together, with the long side of the pocket along the top edge of the lining, to match the position of the interfacing on the bag lining.


Draw a ½” x 6” rectangle along the centre of
the interfacing which is attached to the bag lining. Sew around this rectangle through all the
layers that you have just pinned together..
 Cut a slit in this rectangle (as shown in the photo) making sure not to
cut the stitches. Push the pocket through this ‘letterbox’, shape in the lining
so that it sits flat and press. You will now have a neat opening to attach the
zip.
Cut a slit in this rectangle (as shown in the photo) making sure not to
cut the stitches. Push the pocket through this ‘letterbox’, shape in the lining
so that it sits flat and press. You will now have a neat opening to attach the
zip.
Pin the zip
to the pocket so that the right side shows through the aperture in the bag
lining.
Sew all round.

Pin the
remaining pocket piece to this one, right sides together and sew around the
sides and bottom, keeping the bag lining out of the way as you do not want to
sew through this.

Step 4: Making the bag lining
 Cut 1 ¼”
square out of the 2 bottom corners for both lining pieces.
Cut 1 ¼”
square out of the 2 bottom corners for both lining pieces.
Sew each PVC inner strip to the top of a lining piece, right sides together, making sure
that the fabric will be the right way up if it has a directional pattern (the
lining will be below the PVC strip when the bag is assembled).

Step 5: Making the handles

Fold the
handles in half lengthways to find the centre.
Fold each side in so that the edge is against the fold line. It will now look like bias binding. Fold in half and top stitch close to the edge
along each long side of the handle. This
will hold it together and make it look professional.
Step 6: Assembling the bag

Each end of
the handles is 3” from the side seam (they don't look it in the photo because the side seam curves round!).
The handles need to hang down.
Ensure that they are not twisted and sew them in place.
Design tip: I matched the raw edges of the
handles to the edge of the bag, but if you wanted to use the bag for heavier
items, I would place the handles so that they are sticking out about ½” above
the raw edge of the bag, then after finishing the bag, do a second row of top stitching
around the top of the bag about ¼" below the previous row to give them
added strength.

With the right side of the PVC bag facing outwards, place the lining over the PVC with the handles tucked
inside. The PVC and lining will be right
sides together (the fake seams should face towards the side seams. Sew all round the top. Turn through the gap at the bottom of the
lining. Sew up the gap.
Top stitch
around the top edge of the bag.


Now you have
the perfect excuse to go shopping – to try out your new bag! It’s wipe clean so you won’t need to worry
about getting it dirty.
In this project I learnt:
- I have never used fake seams before but I certainly will in future. They are a simple way to create structure to a bag while minimising the number of fabric pieces to be cut out. I made sure that I measured their position carefully and clipped them in place before sewing. The only potential problem with PVC was that it means sewing on the right side of the PVC. This can cause problems because the PVC can stick to the base of the sewing machine. I have been advised to get a roller or teflon foot for sewing PVC on the right side but I haven't got round to it yet. In any event, I didn't have a problem. I find that my machine copes well if I use a longer stitch (although the machine struggles to keep the stitches at a consistent length when sewing on the shiny/right side of PVC). I can't believe how easy this was and I shall definitely use this technique in future.
- An alternative way of making the fake seams would have been to cut both the PVC and lining to the same width and then assemble the bag without the fake seams, adding them at the end through all layers of the PVC and lining. This gives a pleasing finish as the lining is held tightly in place, but I wasn't sure whether I would catch the lining all the way down the fake seams and if I didn't, it might look amateurish. I might try this method at some time in the future, and if I do, I'll let you know how I get on. Or if you have tried it, let me know your thoughts.
- PVC is always a challenge (see above), but the more I use it, the easier it becomes. when sewing on the right side, using a longer stitch length and being more accepting of inconsistent stitch length are the two most important things I have learnt. No one else has even noticed the stitching - they just look at the appearance of the bag. I've definitely learnt to be less of a perfectionist with PVC.
No comments:
Post a Comment