

I had this
gorgeous curtain fabric in my stash and have been looking for a project for
it. I decided a tote bag would be
ideal. I love using furnishing fabrics
when bag making – they are sturdy, durable and can be very reasonably
priced. This is a cotton canvas with a
co-ordinating polyester lining.
I wanted 1 ½”
– 2” webbing for the handles but couldn’t find a suitable colour in any local
haberdashery store. Even the wrong
colours were outrageously expensive, so I bought a cheap piece of contrasting
cotton. I had envisaged longer handles
(50" in length), but I thought a join in the fabric would look ugly, so I
just made the handles the width of the fabric (45").
I absolutely
love this bag. With the lining and all
the pockets, it looks so professional and it has a place for everything. I can think of several people who would like
this for their birthday. There’s nothing as nice as a handmade gift to show you
really care.
As the fabric
was fairly thick, I used ½” seams. I
used the regular stitch length (2.5 on my machine) for all the sewing except
the top stitching which was increased to 3.
Skills used in this project:
- Inserting a magnetic clasp
- Inserting a zipped pocket
Step 1: Cutting out
Cut out the
following pieces from the main fabric:
17” x 17” bag
sides (cut 2)
 9” x 10” bag
base (cut 1)
9” x 10” bag
base (cut 1)
7” x 11”
outside pockets (cut 2) (if using a directional fabric, 7” is the width and 11”
is the height)
3” x 3” D
ring tab (cut 1)
Cut out the
following pieces from the lining fabric:
17” x 14“ bag
sides (cut 2)
9” x 10” bag
base (cut 1)
7” x 9” outside
pockets (cut 2)
11” x 8” zip
pocket (cut 2)
11” x 8”
Mobile phone pocket (cut 1)
Handles
45” x 6” contrasting
fabric (cut 2) or 1 ½”-2” webbing (my handles were each 45" but I would
have preferred them 50")
Interfacing
45” x 3”
medium iron on interfacing for strap (cut 2)
5 ½” x 8”
lightweight iron-on or sew-in interfacing for mobile phone pocket (cut 1)
11” x 8” lightweight iron-on or sew-in interfacing for zip pocket (cut 1)
11" x 4" lightweight iron-on or sew-in interfacing for bag lining to go around zip (cut 1)
11" x 4" lightweight iron-on or sew-in interfacing for bag lining to go around zip (cut 1)
You will also
need:
11” Zip (I
used an N5 zip)
1” D ring
Magnetic
clasp
Step 2: Making the zip pocket


On the interfacing, mark a rectangle where the zip will go. I made the rectangle 8“ x ¾ “. This made quite a wide opening for the zip. If you wanted to sew closer to the zip and you are using a fairly thin lining fabric (as I was), I would recommend an opening ½” deep. This is what I will do next time.
Pin the right side of this pocket lining piece to the right side of one of the bag lining pieces so that the tops meet, with the pocket positioned centrally along the top. Pin the small rectangle of interfacing to the wrong side of the bag lining (I didn't do this and you can see from the pictures that I ended up with some puckering around the zip). I also didn't change my machine needle to a finer one as I should have done which contributed to the puckering.
Sew around the rectangle you have marked. This will sew the pocket lining to the bag lining and form the 'vent' for the zip. Cut along the centre of the sewn rectangle through both lining pieces and interfacings. Also snip into the corners as shown in the photo, being careful not to cut into the stitching. Post the pocket piece through the gap so that the pocket lining/interfacing are now on the other side of the bag lining. Press. Pin the zip through all these layers so that the right side of the zip will be visible on the right side (outer, visible side) of the lining. Sew. Press.
Pin the other
pocket lining piece to the pocket lining in which you inserted the zip, right
sides together. Sew around all the sides
making sure not to sew the bag lining to any of these pocket edges except the
top.

Step 3: Make the bag lining and D ring
tab

Make the D
ring tab by folding the fabric in half (wrong sides together and folding the
long edges in so that the tab will be 1” wide.
Top stitch along both sides of the tab.
Wrap the tab around the D ring and sew a few stitches at the end to keep
it in place.
Decide where
you want the tab to be. I put it about 2½” ” from the top of the lining. Pin
it so that the D ring is between the 2 right sides of the lining. Sew the 2 bag
side lining pieces together, right sides together. Press the side seams open.
Step 4: Make the mobile phone pocket

 Fold the
mobile phone pocket lining in half, short side to short side, right sides
together and place the interfacing against one of the wrong sides. Sew around the top and 2 sides of the pocket,
turn it inside out and press. There is no need to sew the bottom because this
will not be visible because it will be sewn to the bag base. Top stitch along the top edge.
Fold the
mobile phone pocket lining in half, short side to short side, right sides
together and place the interfacing against one of the wrong sides. Sew around the top and 2 sides of the pocket,
turn it inside out and press. There is no need to sew the bottom because this
will not be visible because it will be sewn to the bag base. Top stitch along the top edge.
Place the
pocket centrally over the side seam at the opposite side to the D ring. Make sure that the bottom edges match. The pocket should not be completely
flat. I placed my mobile phone on the
lining and pinned the pocket round it to make sure that it was a good fit. Sew down each side.
Step 5: Make the outer pockets
 Sew the outer pocket fabric to the outer pocket lining, right sides together, along one of the shorter edges
(this will be the top). Turn the fabric
so that the right sides face outwards and match the other shorter raw edge (which will later be joined to the bag base). As the outer fabric piece is longer, the
lining will not be visible unless you peer inside the pocket. Press and top stitch along the top for a
sharp edge. Make 2 of these.
Sew the outer pocket fabric to the outer pocket lining, right sides together, along one of the shorter edges
(this will be the top). Turn the fabric
so that the right sides face outwards and match the other shorter raw edge (which will later be joined to the bag base). As the outer fabric piece is longer, the
lining will not be visible unless you peer inside the pocket. Press and top stitch along the top for a
sharp edge. Make 2 of these.
Step 6: Make the bag and attach the
outer pockets.
Right sides
together, sew along each side seam. Press
the side seams open and turn the fabric so that right sides are facing
out. Pin the outer pockets in place so
that they cover the side seam with bottom raw edges matching. To make sure that the middle of the pocket
matches the seam line, fold the pocket in half and mark the centre of the top
and bottom. Sew down each side seam.
Step 7: Make the handles
Place the
interfacing along the centre of the handle fabric (shiny side of interfacing to
wrong side of fabric) and iron it in place. I folded them both to find the centre line and matched them up. Fold the sides in so that it looks like bias binding. Press.
Fold it in half along the length and press. Mark 14 ½” from each end and top stitch both
sides of this central part of the handle.
There is no need to top stitch the top and bottom 14½ ” at this stage because you will sew along this part later on to attach the handles to the bag.


If using
webbing, skip this step.
Step 8: Attach the handles to the bag
 Pin the first
handle to the outer bag fabric so that it covers one of the outer pocket edges
and seam. The raw edge at the end of the
handle should match the raw edge at the base of the bag. Making sure that the handle isn’t twisted,
attach the other end to the nearest side of the other pocket. Attach the other handle to the opposite side
of the bag. Mark 12 ½” from the end of the strap. Sew along both sides of the handles from the
end up to the 12½” mark to attach it to the bag. Part of the handle will still be unsewn. You will do this last.
Pin the first
handle to the outer bag fabric so that it covers one of the outer pocket edges
and seam. The raw edge at the end of the
handle should match the raw edge at the base of the bag. Making sure that the handle isn’t twisted,
attach the other end to the nearest side of the other pocket. Attach the other handle to the opposite side
of the bag. Mark 12 ½” from the end of the strap. Sew along both sides of the handles from the
end up to the 12½” mark to attach it to the bag. Part of the handle will still be unsewn. You will do this last.
If using
webbing, cut to size and attach to the outer bag as above.
Step 9: Attaching the base

Pin the outer
fabric base to the bag body, right sides together. The centre of the slightly shorter sides will
be joined to the side seams/outer pocket.
Ease the base into place and pin all round. Trim any excess fabric from the corners once
the base has been sewn.
Attach the
lining base in the same way.
Step 10: Fitting the magnetic clasp
The magnetic
clasp goes in the centre of the top of the bag. Please read through all of this
step to choose the method which suits you best.
Find the
centre point along the top of the outer bag body by folding it in half. Measure 1¼” down. This where the clasp will go. Pin the 2” square of interfacing to the wrong
side of the fabric at this point. On the
right side of the fabric, mark where the 2 prongs will go. Using a seam ripper, make a small hole through
the outer fabric and interfacing and push the prongs of the clasp through the
outer fabric and then the interfacing and press them firmly so that they point outwards. Be careful not to make the hole too big or
your clasp will not be firm – if it’s too small, you can always make it bigger,
but if it’s too big, you’re in trouble).
Do the same
on the other side.

I actually
fitted the clasps after joining the outer and lining fabrics (step 11). I left gaps on both sides when joining the fabrics and did it at this
stage to be sure that the clasps were in exactly the right place. If you have altered any of the measurements,
this might be a safer option.
Step 11: Joining the outer and lining
fabrics
With right
sides together and lining inside the outer fabric, pin and sew around the top edge leaving
a gap of approximately 6” at the centre of one side of the bag. Make sure you don’t sew over the handles –
keep them tucked well out of the way.

Turn the bag
through these gaps so that the right side of the outer fabric is on the outside
of the bag. The lining is shorter than
the outer fabric. Push the lining in so
that 1½” of the outer fabric is on the inside of the bag. The magnetic clasp
should be about 1” from the new top of the bag.
Press.

Top stitch
around the top edge of the bag but don’t sew over the handles. Top stitch around the bottom edge of the
outer fabric near where it meets the lining, sewing up the gap as you go. Again,
do not sew over the handles. I used a
zip foot to do this as the normal foot would be too wide to sew past the clasp.
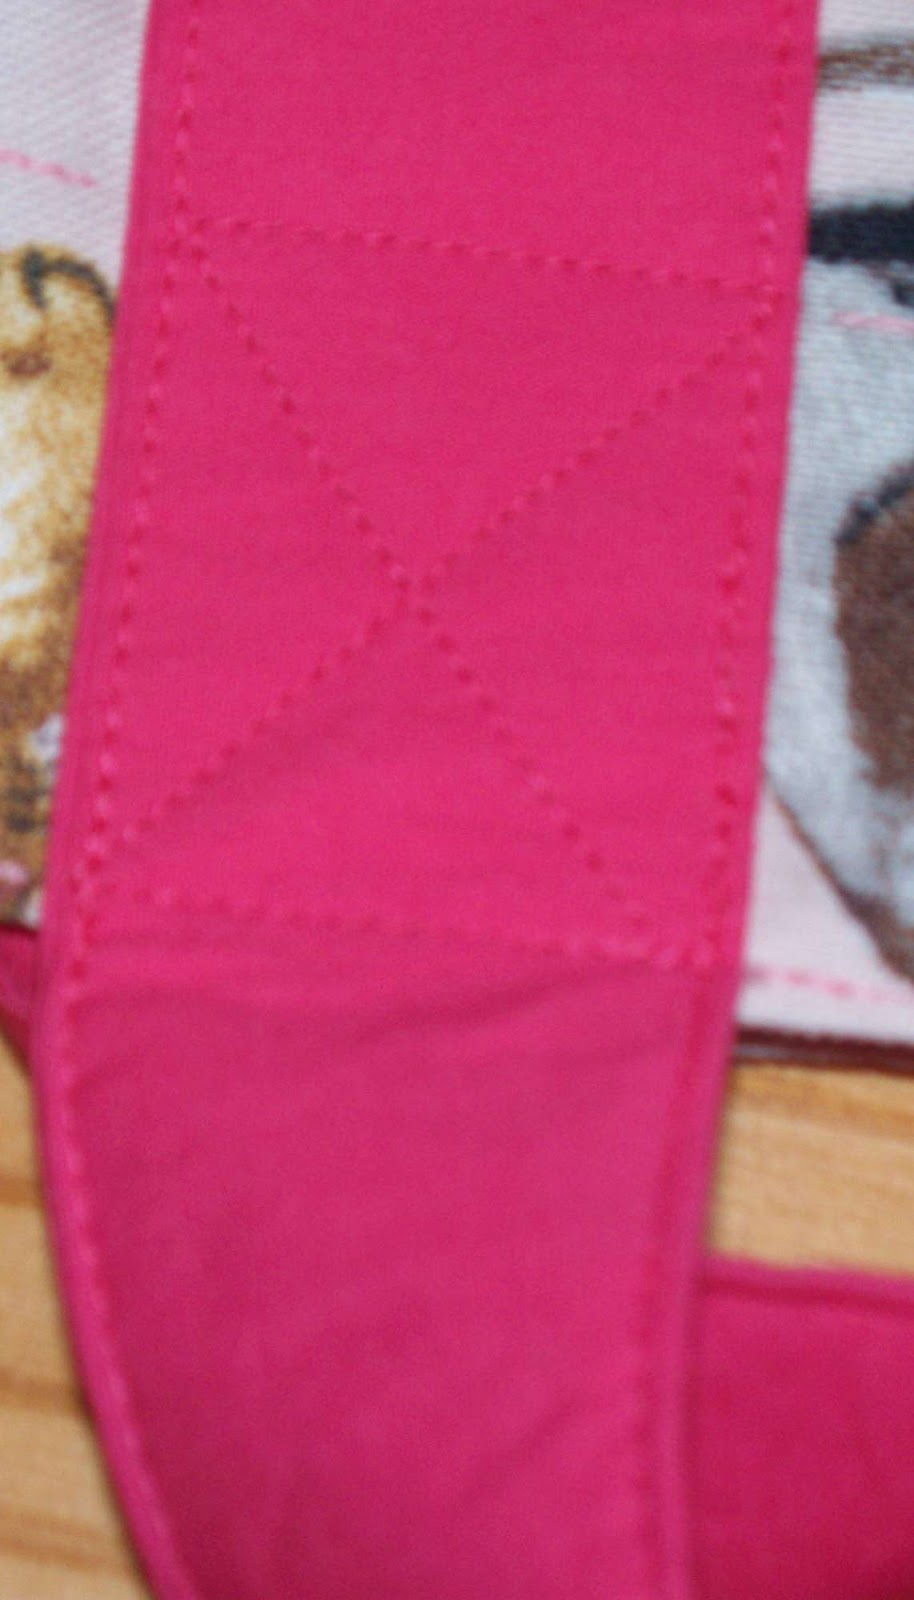
Step 12: Finishing the handles
Sew an X at
the top of each handle through all layers of fabric (regardless of whether it
is a fabric or webbing handle) to make them secure.
Give the bag
a final press and it is ready to use.

In this project I learnt:
- Magnetic clasps are really easy to fit. I have only tried it once before and I wasn’t very happy with the result. This time I used a heavy interfacing as a stabiliser to give the clasp something solid to hold on to. I’ve never known whether the prongs should be bent in or out. I tried bending them in and the clasp seemed a bit wobbly, so I bent them outwards and it was magically firm. Trial and error! Last time, I also make the prong holes too big and the clasp wasn’t as firm as I would have liked.
- I found the zip pocket quite difficult to do because I had never done anything like this before. When I pushed the fabric through the ‘letterbox’ to the other side, it was hard to get it to lay flat, but when I sewed the zip in, it began to look better. I used interfacing on the pocket but not on the lining. This didn't work because the lining needed a stabiliser to give it the strength to hold the zip. I have amended the instructions accordingly. I usually like only the teeth of the zip to be visible and I was initially disappointed that I had made the ‘letterbox’ too deep. Using a zip foot when sewing the zip in, I didn’t even have to move the slider out of the way as there was plenty of room for the zip foot to get past. I’m happy with the way it looks but I would make it smaller if I made the bag again.
- I used the same sewing machine needle throughout because I was too lazy to change it. However, when I was sewing the lining, I really needed a much finer needle and possible an adjustment to the tension. Using an unsuitable needle resulted in puckering of the seams. Although they are inside the bag and barely visible, I wish I had taken a little bit longer and done it properly.
- When I attached the handles, I sewed them right to the top of the bag and wasn’t able to top stitch all round. As a result, I changed the instructions so that the top of the handles are the last stage and top stitching is done earlier in the process.


