About this blog

I make bags and post tutorials on how to make them. I'll tell you what went well and warn you about any disasters.
Showing posts with label Tote bag. Show all posts

Sunday, 17 April 2016

Bag #16: Fabric Painted Bags


I really wanted to try out fabric paints on a bag to make it totally unique.  I used them once before, about twenty-five years ago, when I decorated a pair of canvas shoes with fabric pens.  I loved them so much, I wore them until they fell apart.

This time I wanted to try liquid paint but I have absolutely no skill with a paintbrush. I have used a 'You can folk it' series 1 kit on wooden hearts and really liked the effect which was achieved by using dots.  You can find out more about it here: http://www.folkit.co/

I wondered if it would work on fabric and it did.  You can see the effect with the hearts and flowers bag below.

Of course, rather than using someone else's designs, I wanted to create my own designs, keeping them simple in line with my limited ability.

I like long handles on a bag because I prefer to carry it over my shoulder, but if you prefer to carry it in your hands, you can easily make the handles any length you want - that's the joy of making your own bag.

When making the bag, I used my machine's usual stitch length of 2.5 for the seams and increased it to 3 for the top stitching.


Skills used in this project:


  • Using fabric paint
  • French seams


Step 1: Cutting out

Cut out the following from medium to heavyweight calico:
20” x 15” (2 for the bag)
30” x 4” (2  for the handles)
Fabric paint
Round ended tool to make dots (I used an embossing tool)


Step 2: Using fabric paint


Wash and dry the fabric before using paint on it so that any residues are removed which may affect the longevity of the paint.

Draw chosen image onto the fabric.  You can print an image from your computer or draw once yourself.  I drew mine on A4 paper in pencil, went over them in black pen and then placed them under one of the 20" x 15" bag pieces and traced the image onto the bag using light pencil marks which were then painted over.

When you are happy with your image, you will be ready to start painting.  Place a protective layer under the fabric to prevent damage from seepage.  Pour small quantities of the paint onto a plastic tray and use the embossing tool like a paint brush to pick up the paint and make dots on the fabric.  It is a good idea to use a scrap of fabric to practise before decorating the bag.

Where I mixed 2 colours, I put a dot of each colour side by side and swirled them around so that the colours blended. For the dot roses I mixed white and pink paints. For the peacock, I mixed shades of blue and green.

To form the small heart shapes on the heart and peackock, I made 2 dots next to each other and dragged the paint from each of them to form a tail.

I followed the instructions for the fabric paints by leaving the fabric flat for 4 hours. I then made the bag but waited 72 hours before washing to ensure that the paint became permanent.  You should check the instructions for the paint brand you are using and follow them accordingly.


Step 3: Making the bag

I used a French seam to sew the back and front of the bag together because it adds strength and looks more ‘finished’.

Put the two bag pieces together WRONG sides together and sew a narrow hem – about ¼” around the sides and bottom (but not the top) and then trim it back nearer to the line of sewing so that no whiskers of fabric show through the final seam.  Press.

Turn the bag right sides in and press again (making sure that the corners are fully turned out) before sewing the side and bottom seams again using a slightly wider seam (⅜”) which encases the original seam, hiding the raw edges. Press.


Step 4: Making the handles


Fold the handles in half along the entire length to find the middle. Fold the sides of the fabric in towards the centre and press them so that the fabric looks like bias binding. 

To finish the handles fold them in half along the original fold line and sew down both long sides of each handle to give a professional finish. 

  
Step 5: Finishing the top of the bag and attaching the handles

With the wrong sides out, fold the top of the bag over to the outside to form a ½” hem and sew all round the hem   Press.

Turn the hem over again by another inch and pin in place to hold.  Pin the handles to the top of the bag by placing them under the hem and pushing them up so that the end of the handle is placed against the fold of the hem.  They will be upside down at this stage and hang down towards the bottom of the bag.  Measure 3½ “ from the edge of the bag – that is where the outside edge of the handle will go and do the same for the other end of the handle by measuring from the other edge, making sure that the handle isn’t twisted. Sew around the hem, sewing over the handles as you go. Press.  

Flip the handles up so that they are facing the right way and sew a cross to hold each handle in place. Top stitch around the top of the bag, sewing over the handles to create a crisp line.
Wash the bag, inside out, to set the fabric paint.

Well done! Your bag is complete and your are now an artist.  Shopping will be such a joy now with your unique bag. 


In this project I learnt:

  • Using fabric paint was straightforward.  I followed the instructions on the bottles and everything went according to plan. I splashed a bit of green paint on the peacock bag and the instructions said that I should be able to remove it immediately with soap and water but I found that it was impossible to completely remove it.  I know that I need to be much more careful next time. I liked being able to experiment and alter the design as I played with the paints.  The heart and cat both stayed pretty much as planned but the peacock looked a bit bare, so I kept adding more colour until I was happy with the way it looked.  Dotting is such an easy technique - no artistic skill required.  This would be great to do with children, perhaps for a bag to keep their toys in.

  • I used French seams for the first time in bag 1.  This is essentially the same basic bag. This time, I didn't even need to think about how to do them because I understand how they go together.  I love the professional finish they give.

  • I used 3 different weights of calico - a different one for each bag.  The heaviest weight - the heart bag was lovely to work with and beautifully soft but a nightmare to iron.  It will be really strong and last forever.  The other 2 were made from different types of medium weight calico.  They were easy to work with and there were no ironing problems but they won't be as strong as the heart bag. I guess it depends what you want out of your bag and what you will be using it form.  I was going to use interfacing in the handles but they really didn't need it, so in the end I left it out.


Monday, 4 April 2016

Bag #14: Small tote bag


I was shopping at a local garden centre with a friend when she spotted a small PVC tote bag which was a handy size for a sandwich, a drink and a book.  Of course, my response was to offer to make one.  The fabric I used was a remnant from my stash, so it cost very little and I had so much fun making this bag. 

I love working with PVC.  I think it is my favourite fabric but it can be tricky.  I think that’s what I like about it – the fact that it will be a challenge but will look good even if it goes wrong.

My lining was the same on both sides which always makes life easier.

I used ¼" seams throughout and my usual stitch length (2.5) for seams but 3.5 for top stitching.  I didn’t use a special foot but I did use a leather needle.  I couldn’t use pins because they would leave permanent marks, but my Clover wonder clips held everything in place.


Skills used in this project:
  • Creating structure using stitches
  • Working with PVC


Step 1: Cutting out

Cut out the following pieces

13 ½” x 12 ¼” PVC bag body (cut 2)
13 ½” x 2” PVC for inside bag (cut 2)
4” x 15” PVC handles (cut 2)
13” x 11 ¼” bag lining (cut 2)
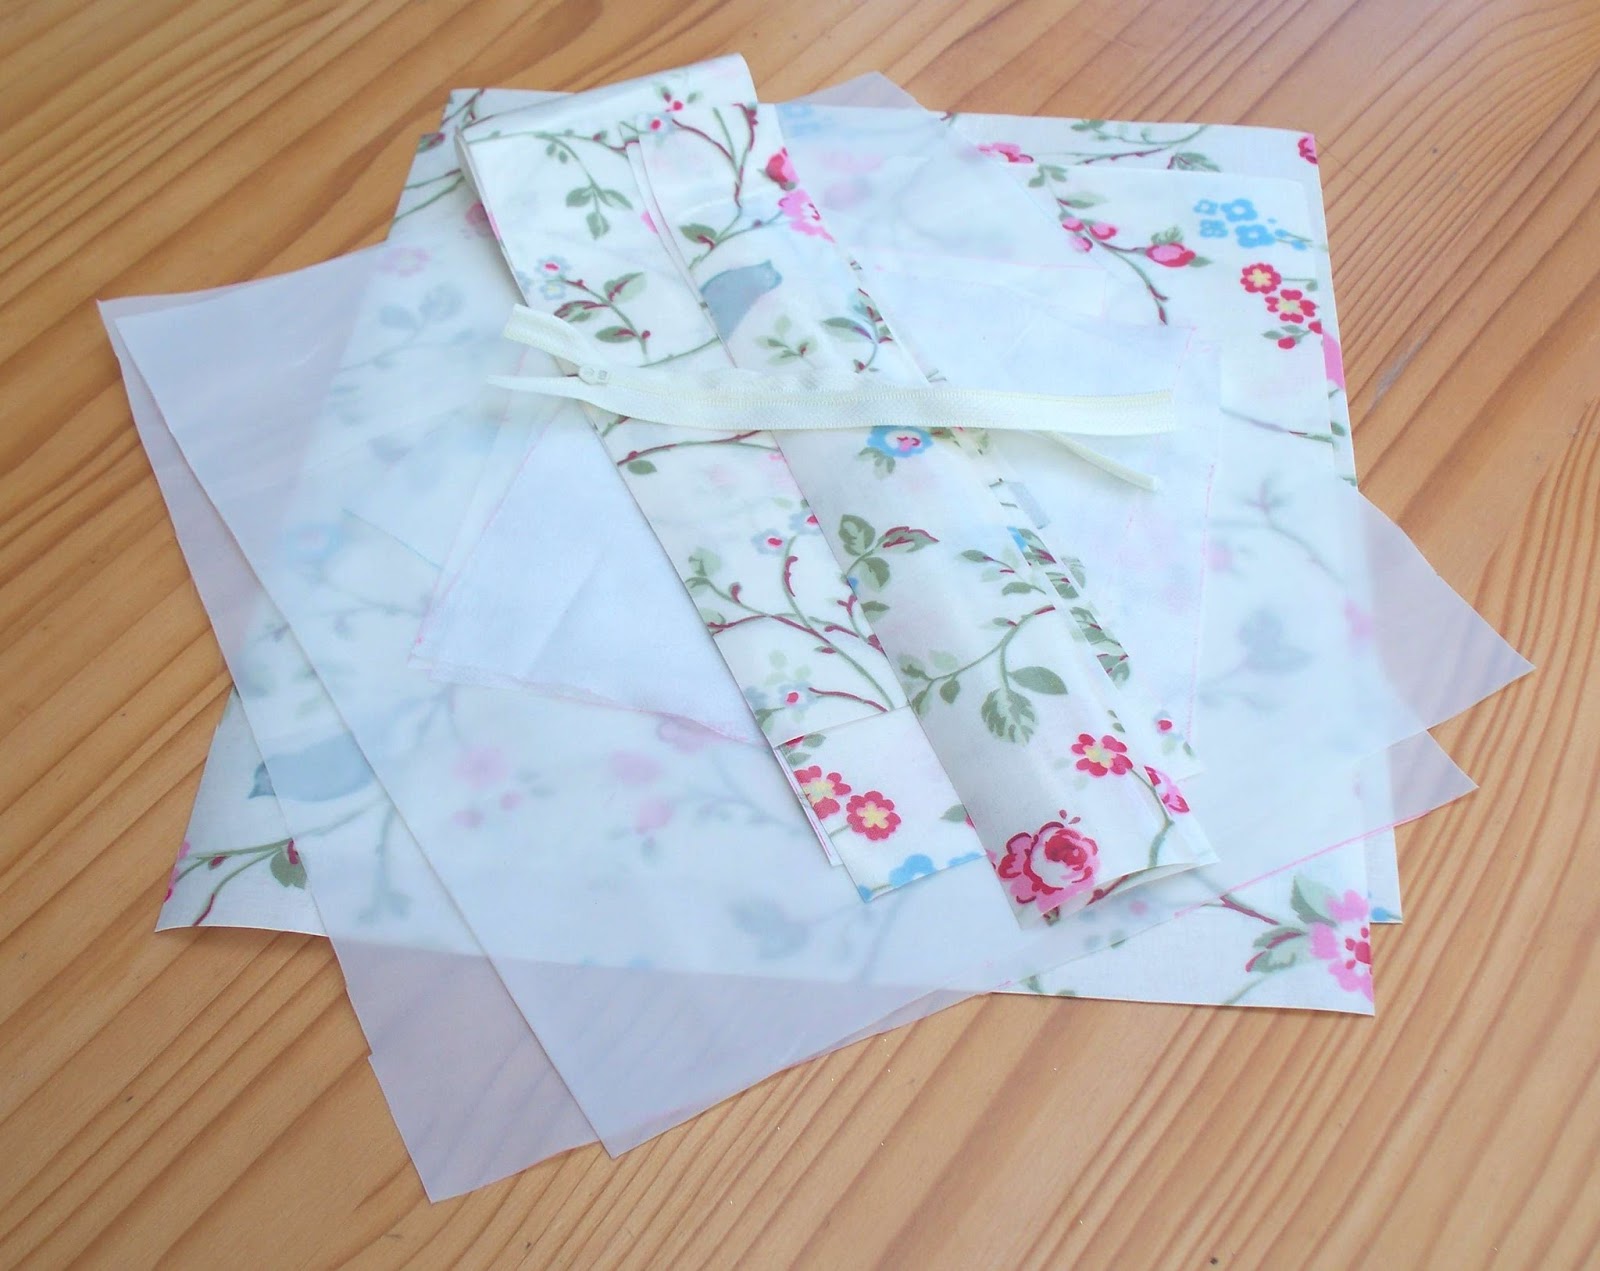
7” x 8” lining for pocket (cut 2)
7” x 8” iron-on light interfacing for pocket (cut 2)
3” x 8” iron-on light interfacing for lining around zip (cut 1)
7” zip (I used an N3 zip cut from a continuous roll)


Step 2: Making the PVC bag body


Cut  a 1 ¼” square out of the 2 bottom corners for both pieces of the PVC bag body (the bottom will be one of the longer sides).  If using a directional fabric, make sure the fabric will be the right way up before cutting these out.

Right sides together, sew both side seams.


Wrong sides together, Measure 1 ½” from the side seam and fold as shown in the photo.  Top stitch close to the edge down this fold.  This will create the bag’s shape. Do this at each side for both the front and back of the bag to create 4 of these ‘fake seams’.

Right sides together, sew the bottom seam.


Right sides still together, flatten the corner squares cut outs and sew along the straight line this creates just inside the fake seams.

Turn right side out.


Step 3: Making the pocket

Iron the interfacing to the wrong side of both pocket linings.  Attach the 3” strip of interfacing to the wrong side of one of the bag lining pieces.  This should be centred with one long side of the interfacing against the edge of one long side of the bag lining.

Pin one pocket piece and the lining to which you have just added the interfacing, right sides together, with the long side of the pocket along the top edge of the lining, to match the position of the interfacing on the bag lining.   


Draw a ½” x 6” rectangle along the centre of the interfacing which is attached to the bag lining.  Sew around this rectangle through all the layers that you have just pinned together..  

Cut a slit in this rectangle (as shown in the photo) making sure not to cut the stitches. Push the pocket through this ‘letterbox’, shape in the lining so that it sits flat and press. You will now have a neat opening to attach the zip.

Pin the zip to the pocket so that the right side shows through the aperture in the bag lining.

Sew all round.


Pin the remaining pocket piece to this one, right sides together and sew around the sides and bottom, keeping the bag lining out of the way as you do not want to sew through this. 


Sew along the top of the pocket and the bag lining to hold the pocket firmly in place.


Step 4: Making the bag lining

Cut 1 ¼” square out of the 2 bottom corners for both lining pieces.

Sew each PVC inner strip to the top of a lining piece, right sides together, making sure that the fabric will be the right way up if it has a directional pattern (the lining will be below the PVC strip when the bag is assembled).


Pin the bag lining pieces together, right sides together and sew down the two side seams.  Sew along the bottom seam, leaving a gap of about 5” for turning. Press the lining seams open being careful not to iron the PVC (which will melt if ironed!).  Sew the bottom corners of the lining as you did for the PVC part of the bag in step 2.


Step 5: Making the handles


Fold the handles in half lengthways to find the centre.  Fold each side in so that the edge is against the fold line.  It will now look like bias binding.  Fold in half and top stitch close to the edge along each long side of the handle.  This will hold it together and make it look professional.


Step 6: Assembling the bag


Each end of the handles is 3” from the side seam (they don't look it in the photo because the side seam curves round!).  The handles need to hang down.  Ensure that they are not twisted and sew them in place. 

Design tip: I matched the raw edges of the handles to the edge of the bag, but if you wanted to use the bag for heavier items, I would place the handles so that they are sticking out about ½” above the raw edge of the bag, then after finishing the bag, do a second row of top stitching around the top of the bag about ¼" below the previous row to give them added strength. 


With the right side of the PVC bag facing outwards, place the lining over the PVC with the handles tucked inside.  The PVC and lining will be right sides together (the fake seams should face towards the side seams.  Sew all round the top.  Turn through the gap at the bottom of the lining.  Sew up the gap.

Top stitch around the top edge of the bag.


Now you have the perfect excuse to go shopping – to try out your new bag!  It’s wipe clean so you won’t need to worry about getting it dirty.


In this project I learnt:
  • I have never used fake seams before but I certainly will in future.  They are a simple way to create structure to a bag while minimising the number of fabric pieces to be cut out. I made sure that I measured their position carefully and clipped them in place before sewing.  The only potential problem with PVC was that it means sewing on the right side of the PVC.  This can cause problems because the PVC can stick to the base of the sewing machine.  I have been advised to get a roller or teflon foot for sewing PVC on the right side but I haven't got round to it yet.  In any event, I didn't have a problem.  I find that my machine copes well if I use a longer stitch (although the machine struggles to keep the stitches at a consistent length when sewing on the shiny/right side of PVC).  I can't believe how easy this was and I shall definitely use this technique in future.
  • An alternative way of making the fake seams would have been to cut both the PVC and lining to the same width and then assemble the bag without the fake seams, adding them at the end through all layers of the PVC and lining.  This gives a pleasing finish as the lining is held tightly in place, but I wasn't sure whether I would catch the lining all the way down the fake seams and if I didn't, it might look amateurish.  I might try this method at some time in the future, and if I do, I'll let you know how I get on.  Or if you have tried it, let me know your thoughts.
  • PVC is always a challenge (see above), but the more I use it, the easier it becomes. when sewing on the right side, using a longer stitch length and being more accepting of inconsistent stitch length are the two most important things I have learnt.  No one else has even noticed the stitching - they just look at the appearance of the bag. I've definitely learnt to be less of a perfectionist with PVC.

Monday, 8 February 2016

Bag # 6 Tote Bag


I had this gorgeous curtain fabric in my stash and have been looking for a project for it.  I decided a tote bag would be ideal.  I love using furnishing fabrics when bag making – they are sturdy, durable and can be very reasonably priced.  This is a cotton canvas with a co-ordinating polyester lining.

I wanted 1 ½” – 2” webbing for the handles but couldn’t find a suitable colour in any local haberdashery store.  Even the wrong colours were outrageously expensive, so I bought a cheap piece of contrasting cotton.  I had envisaged longer handles (50" in length), but I thought a join in the fabric would look ugly, so I just made the handles the width of the fabric (45").

I absolutely love this bag.  With the lining and all the pockets, it looks so professional and it has a place for everything.  I can think of several people who would like this for their birthday. There’s nothing as nice as a handmade gift to show you really care.

As the fabric was fairly thick, I used ½” seams.  I used the regular stitch length (2.5 on my machine) for all the sewing except the top stitching which was increased to 3.


Skills used in this project:
  • Inserting a magnetic clasp
  • Inserting a zipped pocket


Step 1: Cutting out


Cut out the following pieces from the main fabric:

17” x 17” bag sides (cut 2)
9” x 10” bag base (cut 1)
7” x 11” outside pockets (cut 2) (if using a directional fabric, 7” is the width and 11” is the height)
3” x 3” D ring tab (cut 1)

Cut out the following pieces from the lining fabric:

17” x 14“ bag sides (cut 2)
9” x 10” bag base (cut 1)
7” x 9” outside pockets (cut 2) 
11” x 8” zip pocket (cut 2)
11” x 8” Mobile phone pocket (cut 1)

Handles
45” x 6” contrasting fabric (cut 2) or 1 ½”-2” webbing (my handles were each 45" but I would have preferred them 50")

Interfacing
45” x 3” medium iron on interfacing for strap (cut 2)
5 ½” x 8” lightweight iron-on or sew-in interfacing for mobile phone pocket (cut 1)
11” x 8” lightweight iron-on or sew-in interfacing for zip pocket (cut 1)
11" x 4" lightweight iron-on or sew-in interfacing for bag lining to go around zip (cut 1)

You will also need:
11” Zip (I used an N5 zip)
1” D ring
Magnetic clasp


Step 2: Making the zip pocket

 Attach the wrong side of one piece of pocket lining to the interfacing by pinning or ironing depending on the type of interfacing you are using.


On the interfacing, mark a rectangle where the zip will go.  I made the rectangle 8“ x ¾ “.  This made quite a wide opening for the zip.  If you wanted to sew closer to the zip and you are using a fairly thin lining fabric (as I was), I would recommend an opening ½” deep.  This is what I will do next time.

Pin the right side of this pocket  lining piece to the right side of one of the bag lining pieces so that the tops meet, with the pocket positioned centrally along the top. Pin the small rectangle of interfacing to the wrong side of the bag lining (I didn't do this and you can see from the pictures that I ended up with some puckering around the zip). I also didn't change my machine needle to a finer one as I should have done which contributed to the puckering.

Sew around the rectangle you have marked. This will sew the pocket lining to the bag lining and form the 'vent' for the zip.  Cut along the centre of the sewn rectangle through both lining pieces and interfacings.  Also snip into the corners as shown in the photo, being careful not to cut into the stitching.  Post the pocket piece through the gap so that the pocket lining/interfacing are now on the other side of the bag lining. Press.  Pin the zip through all these layers so that the right side of the zip will be visible on the right side (outer, visible side) of the lining. Sew.  Press.

Pin the other pocket lining piece to the pocket lining in which you inserted the zip, right sides together.  Sew around all the sides making sure not to sew the bag lining to any of these pocket edges except the top.


Step 3: Make the bag lining and D ring tab


Make the D ring tab by folding the fabric in half (wrong sides together and folding the long edges in so that the tab will be 1” wide.  Top stitch along both sides of the tab.  Wrap the tab around the D ring and sew a few stitches at the end to keep it in place. 

Decide where you want the tab to be.  I put it about 2½”  ” from the top of the lining.   Pin it so that the D ring is between the 2 right sides of the lining. Sew the 2 bag side lining pieces together, right sides together. Press the side seams open.


Step 4: Make the mobile phone pocket

Fold the mobile phone pocket lining in half, short side to short side, right sides together and place the interfacing against one of the wrong sides.  Sew around the top and 2 sides of the pocket, turn it inside out and press. There is no need to sew the bottom because this will not be visible because it will be sewn to the bag base.  Top stitch along the top edge.   

Place the pocket centrally over the side seam at the opposite side to the D ring.  Make sure that the bottom edges match.  The pocket should not be completely flat.  I placed my mobile phone on the lining and pinned the pocket round it to make sure that it was a good fit.  Sew down each side.  

Step 5: Make the outer pockets

Sew the outer pocket fabric to the outer pocket lining, right sides together, along one of the shorter edges (this will be the top).  Turn the fabric so that the right sides face outwards and match the other shorter raw edge (which will later be joined to the bag base).  As the outer fabric piece is longer, the lining will not be visible unless you peer inside the pocket.  Press and top stitch along the top for a sharp edge. Make 2 of these.


Step 6: Make the bag and attach the outer pockets.


Right sides together, sew along each side seam.  Press the side seams open and turn the fabric so that right sides are facing out.  Pin the outer pockets in place so that they cover the side seam with bottom raw edges matching.  To make sure that the middle of the pocket matches the seam line, fold the pocket in half and mark the centre of the top and bottom.  Sew down each side seam. 


Step 7: Make the handles

Place the interfacing along the centre of the handle fabric (shiny side of interfacing to wrong side of fabric) and iron it in place.  I folded them both to find the centre line and matched them up. Fold the sides in so that it looks like bias binding.  Press.  Fold it in half along the length and press.  Mark 14 ½” from each end and top stitch both sides of this central part of the handle.  There is no need to top stitch the top and bottom 14½ ” at this stage because you will sew along this part later on to attach the handles to the bag.


If using webbing, skip this step.


Step 8: Attach the handles to the bag

Pin the first handle to the outer bag fabric so that it covers one of the outer pocket edges and seam.  The raw edge at the end of the handle should match the raw edge at the base of the bag.  Making sure that the handle isn’t twisted, attach the other end to the nearest side of the other pocket.  Attach the other handle to the opposite side of the bag. Mark 12 ½” from the end of the strap.  Sew along both sides of the handles from the end up to the 12½” mark to attach it to the bag.  Part of the handle will still be unsewn.  You will do this last.

If using webbing, cut to size and attach to the outer bag as above.


Step 9: Attaching the base


Pin the outer fabric base to the bag body, right sides together.  The centre of the slightly shorter sides will be joined to the side seams/outer pocket.  Ease the base into place and pin all round.  Trim any excess fabric from the corners once the base has been sewn.

Attach the lining base in the same way.


Step 10: Fitting the magnetic clasp

The magnetic clasp goes in the centre of the top of the bag. Please read through all of this step to choose the method which suits you best.

Find the centre point along the top of the outer bag body by folding it in half.  Measure 1¼” down.  This where the clasp will go.  Pin the 2” square of interfacing to the wrong side of the fabric at this point.  On the right side of the fabric, mark where the 2 prongs will go.  Using a seam ripper, make a small hole through the outer fabric and interfacing and push the prongs of the clasp through the outer fabric and then the interfacing and press them firmly so that they point outwards.  Be careful not to make the hole too big or your clasp will not be firm – if it’s too small, you can always make it bigger, but if it’s too big, you’re in trouble).

Do the same on the other side.


I actually fitted the clasps after joining the outer and lining fabrics (step 11).  I left gaps on both sides when joining the fabrics and did it at this stage to be sure that the clasps were in exactly the right place.  If you have altered any of the measurements, this might be a safer option.


Step 11: Joining the outer and lining fabrics

With right sides together and lining inside the outer fabric, pin and sew around the top edge leaving a gap of approximately 6” at the centre of one side of the bag.  Make sure you don’t sew over the handles – keep them tucked well out of the way.


Turn the bag through these gaps so that the right side of the outer fabric is on the outside of the bag.  The lining is shorter than the outer fabric.  Push the lining in so that 1½” of the outer fabric is on the inside of the bag. The magnetic clasp should be about 1” from the new top of the bag.  Press. 

Top stitch around the top edge of the bag but don’t sew over the handles.  Top stitch around the bottom edge of the outer fabric near where it meets the lining, sewing up the gap as you go. Again, do not sew over the handles.  I used a zip foot to do this as the normal foot would be too wide to sew past the clasp. 

Step 12: Finishing the handles

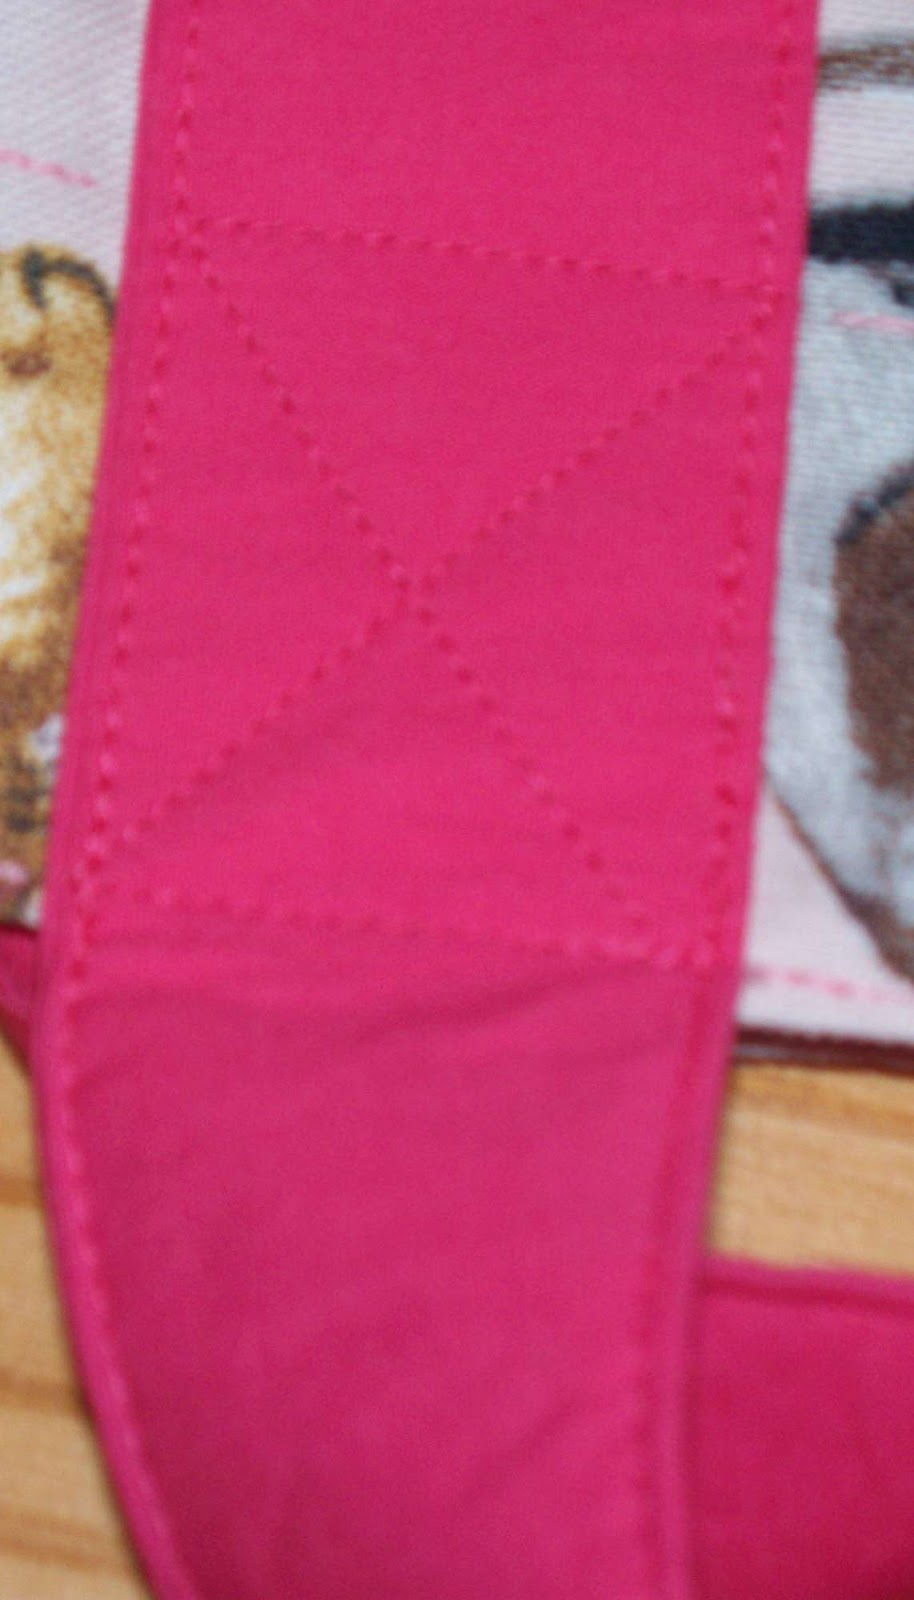
Sew an X at the top of each handle through all layers of fabric (regardless of whether it is a fabric or webbing handle) to make them secure.

Give the bag a final press and it is ready to use.


In this project I learnt:

  • Magnetic clasps are really easy to fit.  I have only tried it once before and I wasn’t very happy with the result.  This time I used a heavy interfacing as a stabiliser to give the clasp something solid to hold on to.  I’ve never known whether the prongs should be bent in or out.  I tried bending them in and the clasp seemed a bit wobbly, so I bent them outwards and it was magically firm.  Trial and error!  Last time, I also make the prong holes too big and the clasp wasn’t as firm as I would have liked.
  • I found the zip pocket quite difficult to do because I had never done anything like this before. When I pushed the fabric through the ‘letterbox’ to the other side, it was hard to get it to lay flat, but when I sewed the zip in, it began to look better.  I used interfacing on the pocket but not on the lining.  This didn't work because the lining needed a stabiliser to give it the strength to hold the zip.  I have amended the instructions accordingly.  I usually like only the teeth of the zip to be visible and I was initially disappointed that I had made the ‘letterbox’ too deep. Using a zip foot when sewing the zip in, I didn’t even have to move the slider out of the way as there was plenty of room for the zip foot to get past.  I’m happy with the way it looks but I would make it smaller if I made the bag again.
  • I used the same sewing machine needle throughout because I was too lazy to change it.  However, when I was sewing the lining, I really needed a much finer needle and possible an adjustment to the tension.  Using an unsuitable needle resulted in puckering of the seams.  Although they are inside the bag and barely visible, I wish I had taken a little bit longer and done it properly.
  • When I attached the handles, I sewed them right to the top of the bag and wasn’t able to top stitch all round.  As a result, I changed the instructions so that the top of the handles are the last stage and top stitching is done earlier in the process.