After spending most of the last week in bed with a virus, I wanted to make something fairly straightforward which still gave me the chance to develop my skills and experience.
Having never
worked with faux suede, I wasn't sure what to expect. I thought it might be heavy like
denim, but actually it felt like a medium woven fabric and sewed
beautifully.
I decided it
was time to try making a handbag as this was something I had never done. A
clutch bag was a good place to start as it is the simplest type of handbag and
doesn’t even need a strap (although I was tempted).
I don’t like large handbags despite the recent
trend for enormous bags. How much does a
person really need to carry? This clutch
bag is very small (finished size 8” x 6”) – just big enough for a small purse,
credit cards, phone and not much more. However
the shape would work just as well for a larger size.
I used ¼”
seams throughout and, as usual, my sewing machine's normal stitch length which
is 2.5, increasing to 3 for top stitching.
Skills used in this project:
- Working with faux suede
- Using foam stabiliser
- Keeping it simple
- A hidden pocket
Step 1: Cutting out

From the faux
suede, cut out:
8 ½” x 12”
(cut a triangle shape from the top 3”) Front
(cut 1)
8 ½” x 6” Back
(cut 1)
From the foam
stabiliser, cut out:
Front (cut 1)
as above
Back (cut 1)
as above
From the
lining (I used a polyester dress lining), cut out:
Front (cut 1)
as above
Back (cut 1)
as above
6” x 9” Pocket
(cut 1)
6” Zip (I used N3 size)
6” x 2”
medium weight sew-in interfacing (cut 2)
Magnetic
clasp and small circle of foam slightly
larger than the clasp
Step 2: Making the pocket
Pin the top (6” side) of the pocket to the back lining, right sides together, 5” from the bottom.
I put mine
about 4" from the bottom and this was too low, so I have changed it to
5" for this tutorial.

Pin the
interfacing to the wrong side of the back lining and wrong side of the pocket,
matching the top of the pocket with the top of the interfacing. The interfacing
goes across the bag. You will have a
sandwich with interfacing, back lining, pocket lining and then the final piece
of interfacing.
 Draw a
rectangle ½” deep and 5” wide on the interfacing where the zip will go. This
should start about 1” below the top of the pocket.
Draw a
rectangle ½” deep and 5” wide on the interfacing where the zip will go. This
should start about 1” below the top of the pocket.
Sew around
the edges of the rectangle.
Cut a slit
along the length of the rectangle and snip into the corners. Do not cut the
stitches.
Post the
pocket through the slit and press the fabric flat.

Pin the zip
through all these layers so that the right side of the zip will be visible on
the right side of the back lining. Sew.
Press.

Fold the
pocket in half by bringing the bottom edge up and pinning it to the top and
sides of the pocket. Sew around the sides and top making sure not to sew the bag
lining to any of these pocket edges.
Step 3: Attaching the smaller part of
the magnetic clasp


Measure 1½”
from the tip of the triangle at the top of the back lining. Fold the fabric in half to find the
middle. This is where the centre of the
lighter part of the magnetic clasp will go.
The clasp
goes on the right side of the lining. Mark where the 2 prongs for the clasp
will go and snip the fabric. Make sure
not to make the snip holes bigger than the prongs or the clasp will be too
loose. Push the prongs through the lining
and snip and push them through the foam circle. Press the prongs tightly
outwards so that the clasp is secure.
 Step 4: Creating the bag back
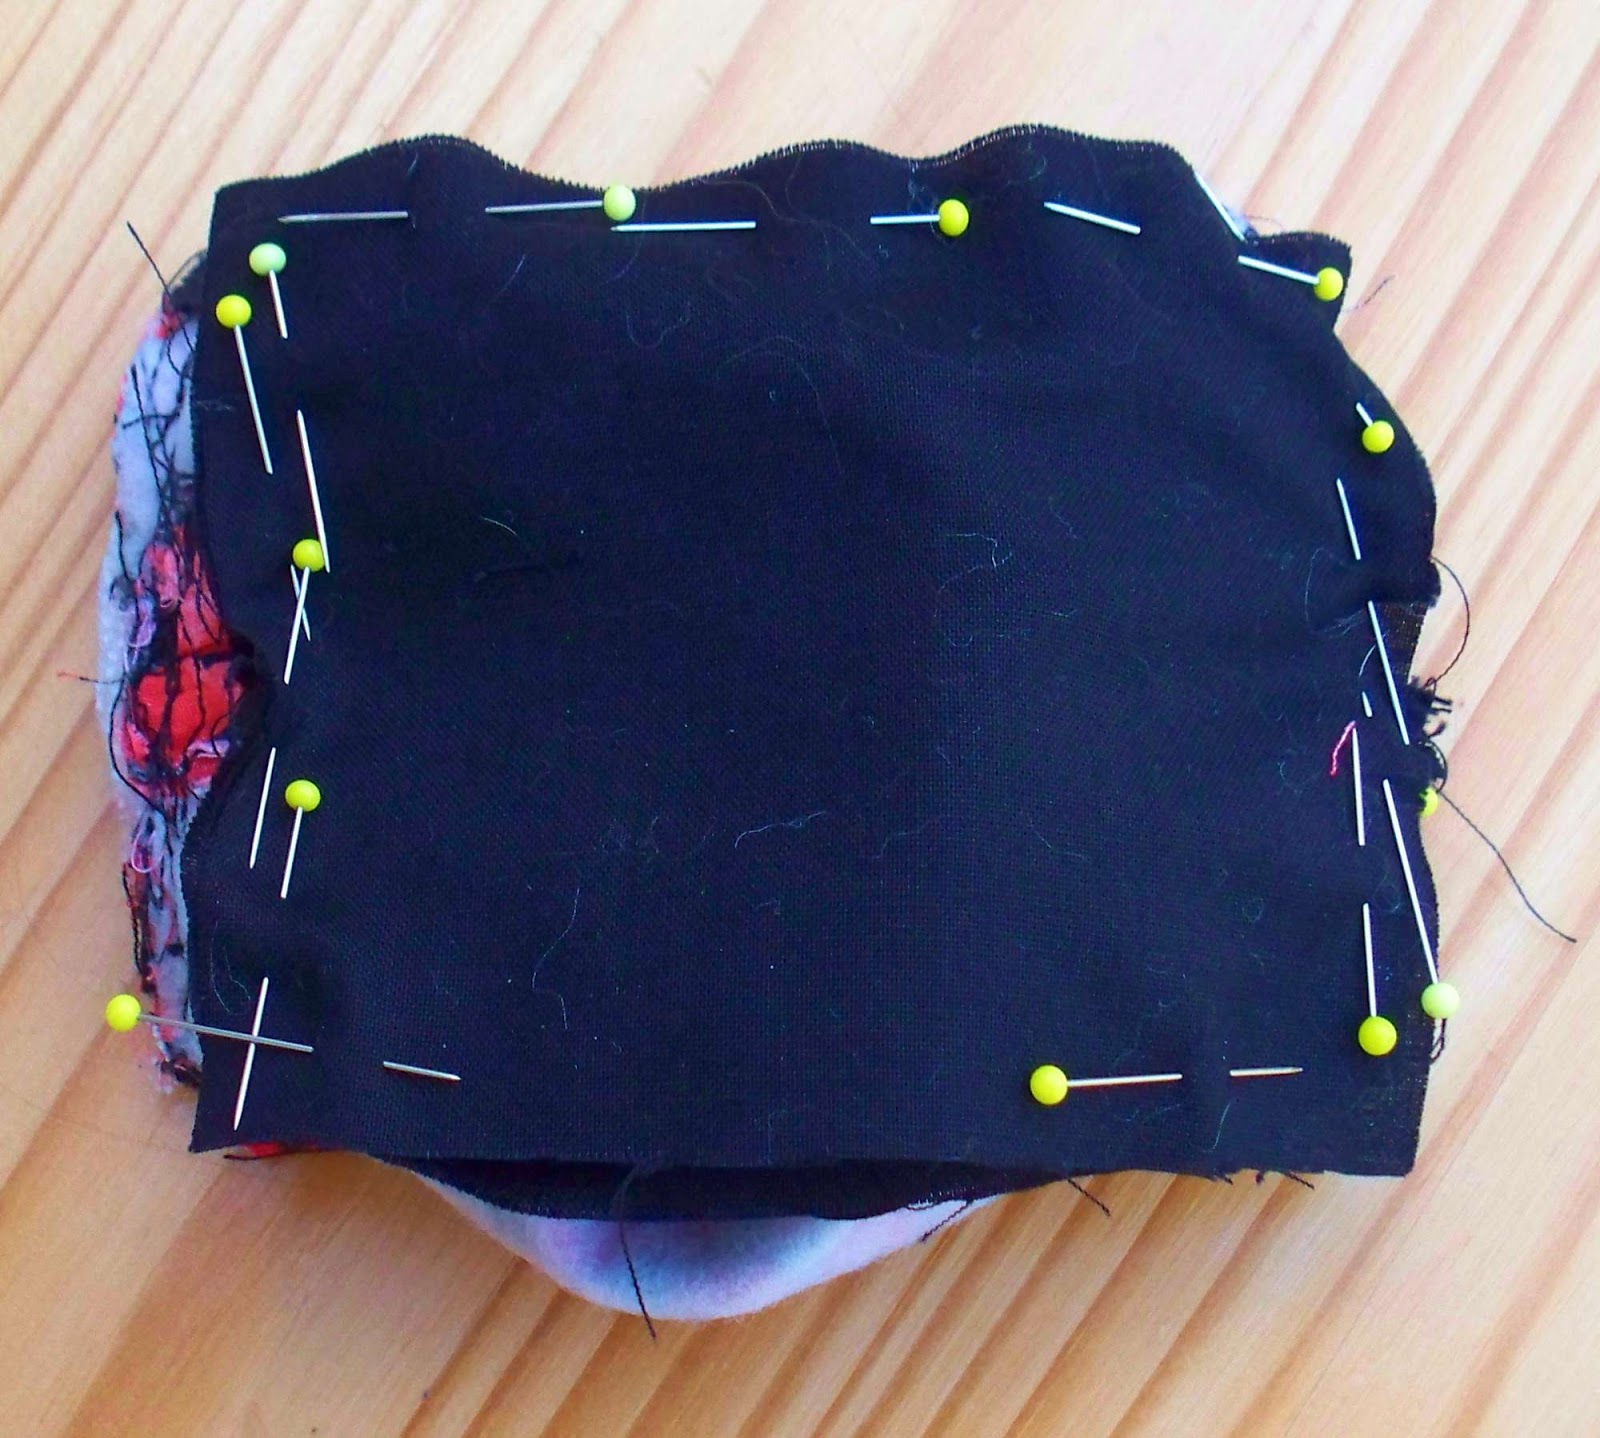
Pin the back
foam to the wrong side of the back faux suede and pin the right side of the
back lining to the right side of the faux suede. Sew all around (through all 3 fabrics)
leaving a gap along one side of about 4” for turning. Trim the foam back to the
seam. Turn out and hand sew the gap.
Step 5: Attaching the larger part of
the magnetic clasp
Pin the front
foam to the wrong side of the front faux suede.
Find the centre widthways and measure 3” from the top of the front. Mark and snip the faux suede and foam where the prongs will go through. Push the prongs through and press them firmly
outwards.

Step 6: Creating the bag front
Pin the right side of the front lining to the right side of the faux
suede. Sew all around (through all 3
fabrics, including the foam) leaving a gap along one side of about 4” for turning. Trim the foam
back to the seam. Turn out and hand sew the gap.
Step 7: Assembling the Bag
Top stitch
along the top of the front through all layers.

Place the front
over the bottom of the back, lining sides together and match them up so that
the lining does not show. Top stitch all
the way round, joining the 2 bag pieces together as you go and continuing to
top stitch around the triangle shape back to where you started.


You are now ready for an evening out with your sophisticated clutch bag.
In this project I learnt:
- Faux suede is easy to work with – just like any other woven fabric. I wasn’t sure if the pins would leave holes, but no, it was just like working with cotton and the sewing machine loved it. I shall definitely use it again because it makes the bag look so professional – no one would know I hadn’t bought it unless they looked closely.
- Foam stabiliser is much better for shaping a bag than wadding or interfacing. I also used it when attaching the metal clasps and it held them firmly in place. I have seen a lot of patterns and tutorials that use bag foam but I’ve never been able to get it locally, then just after Christmas, my local branch of Hobbycraft had it in stock and I snapped it up. It is much firmer than wadding and would enable a bag to stand up by itself and retain its shape while still feeling soft. It was fusible but it needs higher temperatures that I dared use to fuse successfully – I didn’t want to risk any hotter in case I ruined the faux suede. The foam was very bulky around the seams, so I cut it back as close to the stitch line as I could and that prevented too much bulk. Top stitching around the seams also kept them fairly flat. If I can continue to get it, I shall certainly use it as my first choice stabiliser. The only drawback is that it is more expensive than wadding or interfacing.
- I used a hidden vent pocket in an earlier bag but didn’t attach interfacing to both parts of the lining and it puckered. This time I remembered the interfacing and there was no puckering. In my prototype bag, the pocket was too low, so for this tutorial, I changed the instructions to make it about an inch higher, which I think would work better.
- This would have been really simple if I hadn’t included the pocket. The basic pattern is so easy to make and it took less than an hour. I wanted to add a wrist strap but was conscious of the fact that I often over complicate bags, so I held back and I’m glad I did. This bag’s simplicity is what makes it so streamlined and sophisticated. Less is definitely more and it’s something I need to take on board more often if I'm to develop as a bag maker.